Description
How to install:
Remove dirt from the windshield and bracket suction cups before installing the bracket. 1. Install the suction cup on the camera.
2. Place the suction cups in parallel on the windshield of the car.
3. Press the suction cup firmly against the windshield and push the bracket down firmly
4. Plug the USB car charger into the cigarette lighter socket of the car.
6. Wiring the USB cable along the car's gaps.
7. Place the end of the USB cable a few turns on the rear view mirror to prevent the recorder from falling.
8. Plug the Micro USB head of the car charger into the camera's USB port
9. Adjust the camera to an appropriate angle to ensure that the front of the car is visible from the camera screen.
How to install the rear camera
Connect the rear camera's Terminal (2.5 mm diameter) directly to the AV IN port of the camera.
The red cable is the power cord used to illuminate the rear camera LEDs.
Tips: Please format SD Card ( class 10, 32GB max SDHC card) on your dash cam before using;
What you should attention:
▪The internal battery is small capacity for backup only. You need plug the car charger while use it;
▪Please format SD Card (Not Included, Class 10, 32GB max SDHC card) on your dash cam before using; SD card is not included, please purchase a memory card separately.
▪It require a name band Class10 or higher micro SD card,Format your SD card on the camera first before using.
▪Record Do not remove the TF card during the recording process.
▪For cleaning, wipe gently with a soft cloth. Do not use any chemicals for cleaning. ▪In case of overheating, unwanted smoke or unpleasant smell from the device, unplug it immediately from the power outlet to prevent hazardous fire.
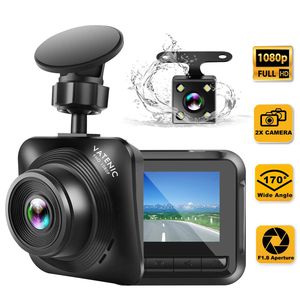
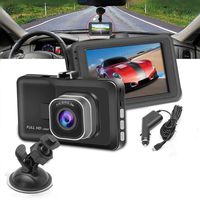
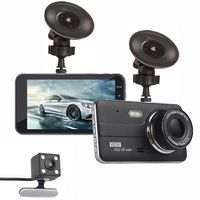
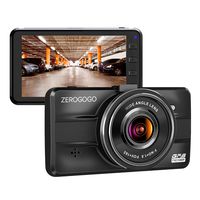
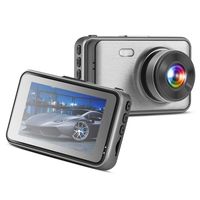
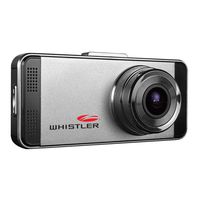
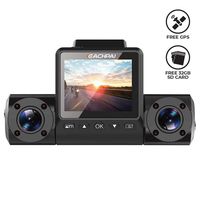
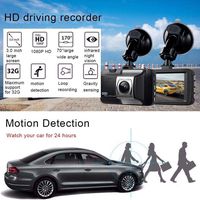
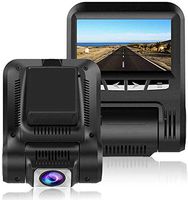
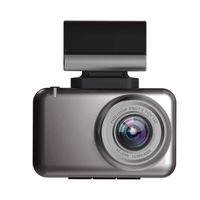
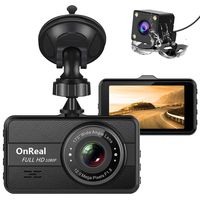
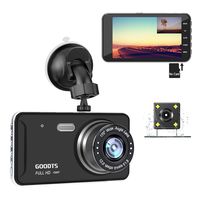
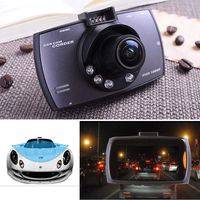
Dash Cam Car Camera Recorder FHD 1080P Front and Rear Cameras,Driving Loop Recording,2.2 Inch LCD Screen 170°Wide Angle, WDR,Night Vision, G-Sensor, Motion Detection, Parking Monitor
Price is below average
Current Price
$39.99
Average
$44.96
Min Price
$34.39
Max Price
$59.99
Price dynamics
11%
Description
How to install:
Remove dirt from the windshield and bracket suction cups before installing the bracket. 1. Install the suction cup on the camera.
2. Place the suction cups in parallel on the windshield of the car.
3. Press the suction cup firmly against the windshield and push the bracket down firmly
4. Plug the USB car charger into the cigarette lighter socket of the car.
6. Wiring the USB cable along the car's gaps.
7. Place the end of the USB cable a few turns on the rear view mirror to prevent the recorder from falling.
8. Plug the Micro USB head of the car charger into the camera's USB port
9. Adjust the camera to an appropriate angle to ensure that the front of the car is visible from the camera screen.
How to install the rear camera
Connect the rear camera's Terminal (2.5 mm diameter) directly to the AV IN port of the camera.
The red cable is the power cord used to illuminate the rear camera LEDs.
Tips: Please format SD Card ( class 10, 32GB max SDHC card) on your dash cam before using;
What you should attention:
▪The internal battery is small capacity for backup only. You need plug the car charger while use it;
▪Please format SD Card (Not Included, Class 10, 32GB max SDHC card) on your dash cam before using; SD card is not included, please purchase a memory card separately.
▪It require a name band Class10 or higher micro SD card,Format your SD card on the camera first before using.
▪Record Do not remove the TF card during the recording process.
▪For cleaning, wipe gently with a soft cloth. Do not use any chemicals for cleaning. ▪In case of overheating, unwanted smoke or unpleasant smell from the device, unplug it immediately from the power outlet to prevent hazardous fire.
Remove dirt from the windshield and bracket suction cups before installing the bracket. 1. Install the suction cup on the camera.
2. Place the suction cups in parallel on the windshield of the car.
3. Press the suction cup firmly against the windshield and push the bracket down firmly
4. Plug the USB car charger into the cigarette lighter socket of the car.
6. Wiring the USB cable along the car's gaps.
7. Place the end of the USB cable a few turns on the rear view mirror to prevent the recorder from falling.
8. Plug the Micro USB head of the car charger into the camera's USB port
9. Adjust the camera to an appropriate angle to ensure that the front of the car is visible from the camera screen.
How to install the rear camera
Connect the rear camera's Terminal (2.5 mm diameter) directly to the AV IN port of the camera.
The red cable is the power cord used to illuminate the rear camera LEDs.
Tips: Please format SD Card ( class 10, 32GB max SDHC card) on your dash cam before using;
What you should attention:
▪The internal battery is small capacity for backup only. You need plug the car charger while use it;
▪Please format SD Card (Not Included, Class 10, 32GB max SDHC card) on your dash cam before using; SD card is not included, please purchase a memory card separately.
▪It require a name band Class10 or higher micro SD card,Format your SD card on the camera first before using.
▪Record Do not remove the TF card during the recording process.
▪For cleaning, wipe gently with a soft cloth. Do not use any chemicals for cleaning. ▪In case of overheating, unwanted smoke or unpleasant smell from the device, unplug it immediately from the power outlet to prevent hazardous fire.
Price will be lower
in next 2 weeks
in next 2 weeks
According to the data, price will be lower in next two weeks, so not waste your money and track better price!
Product review & video
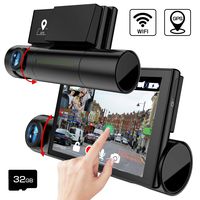
if you've ever browsed the weird electronics that are on Amazon you might come across something like this this is the acaso dl9 10 inch rear view mirror dashcam all in one combo thingy together this is not a video that I normally do of course but they reached out to me asking me to just review it they're not paying to sponsor this video and I actually needed one for this car so it's like yeah sure why not cool company company recognized me sent me something so we're gonna go ahead and open this set it up and just do a quick little review i've already unbox this like four or five times now i just keep messing up the recording so this is this is what it looks like is what all the garbage stuff in the background looks like and we've got a nifty little camera on the back so this will sit on the mirror up here itself it just attaches to whatever mirror you got which you know i wasn't looking


Similar products
