Description
Carl's Window Projection Screen is perfect for AtmosFEARfx Halloween Digital Decorations and AtmosFX Virtual Halloween Window Displays. Safely run your projector from inside your home and project through your window/door, using this Halloween Projection Screen.
Our Digital Decorations Screen works great with AtmosCHEERfx Digital Decoration Videos.
• For a photographic DVD or SD Card our Window Projection Screen is best when stretched tight for a flat, crisp image
• For a shadow/silhouette DVD or SD Card hang the screen loosely like a curtain for a true Ghostly Apparitions illusion
Our Semi-Translucent Rear Window Projection Screen works best with a bright projector, it evenly disperses light for realistically rendered images. The gray may add to the spooky Halloween effect and the white offers fewer chances for hot spots with vivid color.
While your illusion effects can be either rear or front projected, we recommend rear projection as projecting from the front may cause your Zombie Invasion or Jack-O'-Lantern Jamboree to show up on your window projection screen, as well as, any objects directly behind it and seeing double is usually an undesirable effect.
Your DIY Rear Projection Screen works best in a dark environment and unlike static window clings, a rear projection screen can be used year-round as an indoor/outdoor movie screen for rear or front projection. Simply make sure it is clean and dry and store it safely for years of unliving, witching, bone chilling and evil decorating. Re-use your holiday digital decorations screen for a Virtual Santa Claus Window as well. Project onto the smooth side of your Rear Projection Film and make sure the projector's light bulb is not directly behind the screen to keep your Halloween Digital Decorations believable. Then use keystone correction to focus and shape your image.
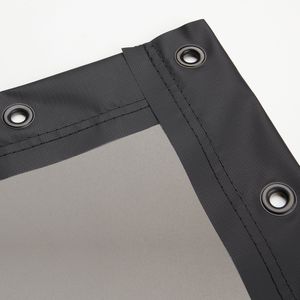
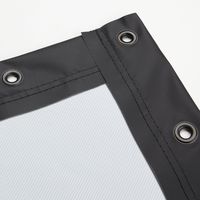
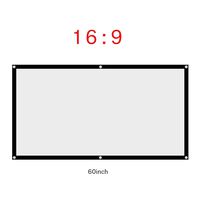
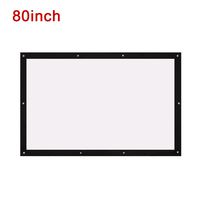
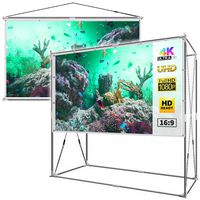
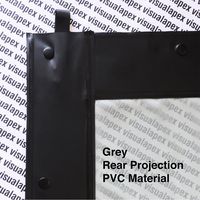
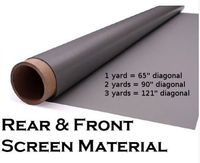
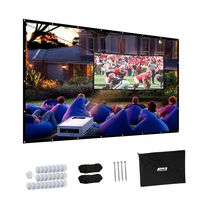
Carl's (2.39:1) 9x21 Ft, Gray Rear Finished Edge Projection Screen (Virtual Halloween Window, Halloween Projection Videos, Digital Decorations)
Price is below average
Current Price
$294.95
Average
$322.45
Min Price
$294.95
Max Price
$349.95
Price dynamics
9%
Description
Carl's Window Projection Screen is perfect for AtmosFEARfx Halloween Digital Decorations and AtmosFX Virtual Halloween Window Displays. Safely run your projector from inside your home and project through your window/door, using this Halloween Projection Screen.
Our Digital Decorations Screen works great with AtmosCHEERfx Digital Decoration Videos.
• For a photographic DVD or SD Card our Window Projection Screen is best when stretched tight for a flat, crisp image
• For a shadow/silhouette DVD or SD Card hang the screen loosely like a curtain for a true Ghostly Apparitions illusion
Our Semi-Translucent Rear Window Projection Screen works best with a bright projector, it evenly disperses light for realistically rendered images. The gray may add to the spooky Halloween effect and the white offers fewer chances for hot spots with vivid color.
While your illusion effects can be either rear or front projected, we recommend rear projection as projecting from the front may cause your Zombie Invasion or Jack-O'-Lantern Jamboree to show up on your window projection screen, as well as, any objects directly behind it and seeing double is usually an undesirable effect.
Your DIY Rear Projection Screen works best in a dark environment and unlike static window clings, a rear projection screen can be used year-round as an indoor/outdoor movie screen for rear or front projection. Simply make sure it is clean and dry and store it safely for years of unliving, witching, bone chilling and evil decorating. Re-use your holiday digital decorations screen for a Virtual Santa Claus Window as well. Project onto the smooth side of your Rear Projection Film and make sure the projector's light bulb is not directly behind the screen to keep your Halloween Digital Decorations believable. Then use keystone correction to focus and shape your image.
Our Digital Decorations Screen works great with AtmosCHEERfx Digital Decoration Videos.
• For a photographic DVD or SD Card our Window Projection Screen is best when stretched tight for a flat, crisp image
• For a shadow/silhouette DVD or SD Card hang the screen loosely like a curtain for a true Ghostly Apparitions illusion
Our Semi-Translucent Rear Window Projection Screen works best with a bright projector, it evenly disperses light for realistically rendered images. The gray may add to the spooky Halloween effect and the white offers fewer chances for hot spots with vivid color.
While your illusion effects can be either rear or front projected, we recommend rear projection as projecting from the front may cause your Zombie Invasion or Jack-O'-Lantern Jamboree to show up on your window projection screen, as well as, any objects directly behind it and seeing double is usually an undesirable effect.
Your DIY Rear Projection Screen works best in a dark environment and unlike static window clings, a rear projection screen can be used year-round as an indoor/outdoor movie screen for rear or front projection. Simply make sure it is clean and dry and store it safely for years of unliving, witching, bone chilling and evil decorating. Re-use your holiday digital decorations screen for a Virtual Santa Claus Window as well. Project onto the smooth side of your Rear Projection Film and make sure the projector's light bulb is not directly behind the screen to keep your Halloween Digital Decorations believable. Then use keystone correction to focus and shape your image.
Price will be lower
in next 2 weeks
in next 2 weeks
According to the data, price will be lower in next two weeks, so not waste your money and track better price!
Product review & video
hi everybody i am going to do a review on the venkyo cinnamango 100 but it is specifically for halloween digital decorations i guess you could include other digital decorations such as christmas but i know a lot of the reviews out there are for home theater and that's fine there's lots of other reviews you can use youtube videos you can use to review if that's what your interest is but i was having a hard time finding halloween digital decorations specifically atmos fx and how certain projectors are using handling for those that type of purpose again so if you're looking for a projector and you're going to use it for home theater to watch like netflix or tv videos whatever this review will not be to appeal to you this is for those who are looking for digital decorations for halloween and that's all so just a couple of things that i'll point out is this is using a usb drive where the atm


Similar products
