Description
How to install:
Remove dirt from the windshield and bracket suction cups before installing the bracket.
1. Install the suction cup on the camera.
2. Place the suction cups in parallel on the windshield of the car.
3. Press the suction cup firmly against the windshield and push the bracket down firmly
4. Plug the USB car charger into the cigarette lighter socket of the car. 5. Wiring the USB cable along the car's gaps.
5. Place the end of the USB cable a few turns on the rear view mirror to prevent the recorder from falling.
6. Plug the Micro USB head of the car charger into the camera's USB port
7. Adjust the camera to an appropriate angle to ensure that the front of the car is visible from the camera screen.
How to install the rear camera
Connect the rear camera's Terminal (2.5 mm diameter) directly to the AV IN port of the camera.
Specification:
Display: 4.0 inches IPS Screen
Lens Aperture: F1.8 aperture
Video Resolution: Full HD1080P,1080P
Perspective: 170° wide-angle
Storage: Support Micro SD card up to 32GB
Note: Memory card is not included, please purchase a memory card separately.
More attention you can see user manual.
. ADAPTIVE FAST CHARGE KIT- adaptive fast charger charge for 30 minutes, up to 50% battery level, 75% faster than standard chargers.
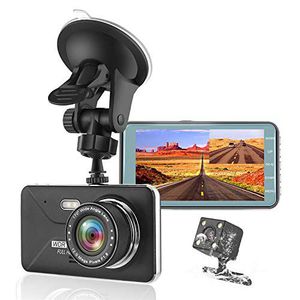
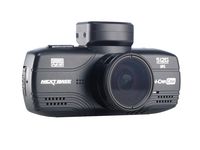
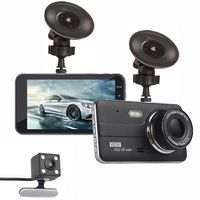
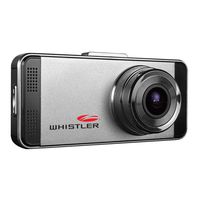
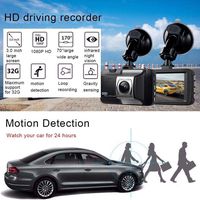
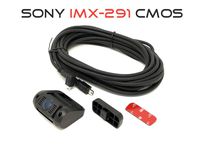
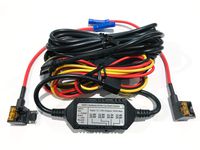
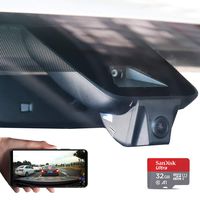
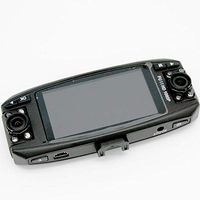
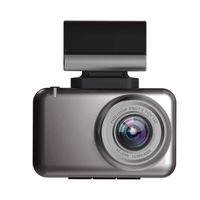
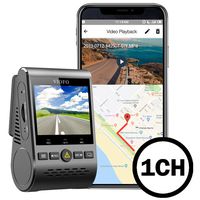
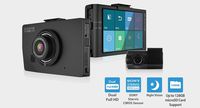
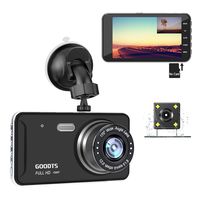
KEDAY Dash Cam 1080P FHD DVRC Car Driving Recorder , Front and Rear Cameras, 4" LCD and Night Vision, 170 Super Wide Angle, G Sensor,WDR,Parking Monitor, Loop Recording,Motion Detection (Black)
Price is below average
Current Price
$39.99
Average
$54.99
Min Price
$39.99
Max Price
$69.99
Price dynamics
27%
Description
How to install:
Remove dirt from the windshield and bracket suction cups before installing the bracket.
1. Install the suction cup on the camera.
2. Place the suction cups in parallel on the windshield of the car.
3. Press the suction cup firmly against the windshield and push the bracket down firmly
4. Plug the USB car charger into the cigarette lighter socket of the car. 5. Wiring the USB cable along the car's gaps.
5. Place the end of the USB cable a few turns on the rear view mirror to prevent the recorder from falling.
6. Plug the Micro USB head of the car charger into the camera's USB port
7. Adjust the camera to an appropriate angle to ensure that the front of the car is visible from the camera screen.
How to install the rear camera
Connect the rear camera's Terminal (2.5 mm diameter) directly to the AV IN port of the camera.
Specification:
Display: 4.0 inches IPS Screen
Lens Aperture: F1.8 aperture
Video Resolution: Full HD1080P,1080P
Perspective: 170° wide-angle
Storage: Support Micro SD card up to 32GB
Note: Memory card is not included, please purchase a memory card separately.
More attention you can see user manual.
. ADAPTIVE FAST CHARGE KIT- adaptive fast charger charge for 30 minutes, up to 50% battery level, 75% faster than standard chargers.
Remove dirt from the windshield and bracket suction cups before installing the bracket.
1. Install the suction cup on the camera.
2. Place the suction cups in parallel on the windshield of the car.
3. Press the suction cup firmly against the windshield and push the bracket down firmly
4. Plug the USB car charger into the cigarette lighter socket of the car. 5. Wiring the USB cable along the car's gaps.
5. Place the end of the USB cable a few turns on the rear view mirror to prevent the recorder from falling.
6. Plug the Micro USB head of the car charger into the camera's USB port
7. Adjust the camera to an appropriate angle to ensure that the front of the car is visible from the camera screen.
How to install the rear camera
Connect the rear camera's Terminal (2.5 mm diameter) directly to the AV IN port of the camera.
Specification:
Display: 4.0 inches IPS Screen
Lens Aperture: F1.8 aperture
Video Resolution: Full HD1080P,1080P
Perspective: 170° wide-angle
Storage: Support Micro SD card up to 32GB
Note: Memory card is not included, please purchase a memory card separately.
More attention you can see user manual.
. ADAPTIVE FAST CHARGE KIT- adaptive fast charger charge for 30 minutes, up to 50% battery level, 75% faster than standard chargers.
Price will be lower
in next 2 weeks
in next 2 weeks
According to the data, price will be lower in next two weeks, so not waste your money and track better price!
Product review & video
today we're gonna look at the 1080 four-inch doolin - camera will be in now [Music] how me doing everyone this is Daria from media box ent half bore and today we get a cool review we're gonna be looking to these 1084 ninja dual camera lent I've always told in my car so we'll show you what it looks at my car and also gonna be driving to and take some videos on DNA will show you all that to get it but before that let's look few the things and also let's look how this thing is being config so let's check the camera first and I will show you how to configure this this will now move alright so yeah we get the power that's what you get the 5 volts that's we go hooked up your back end the camera in the back if you want to you know how to so we get here they can fix in here is the memory by the way there is no memory included I will always recommend try to use a good quality memory but importan


Similar products
