Description
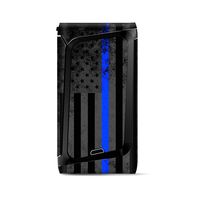
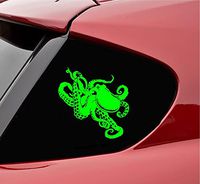
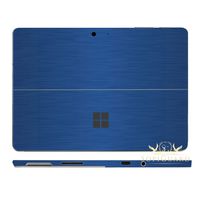
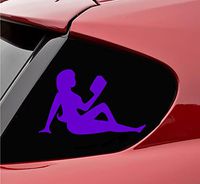
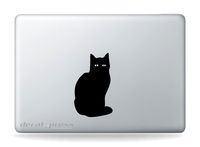
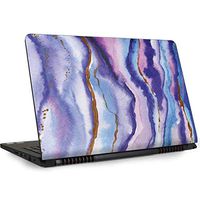
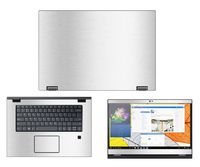
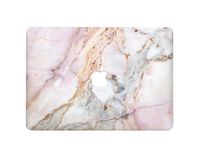
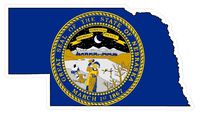
The Decal is Made in USA and Die Cut with No Background. Material: The Highest Quality Engineering Grade 5 Years Outdoor Vinyl Colors available in *WHITE*BLUE*GREEN*RED*SILVER*PINK*PURPLE*BLACK*YELLOW*ORANGE Product comes in different colors so when purchasing let me know what color you would like. if you want other than the default color.
How To Apply A Small Sticker or Decal
Step 1
Clean the area thoroughly with rubbing alcohol or soap and water. Do not use Windex or similar products because it will leave a residue behind that will prevent the sticker from adhering well.
Step 2
Prepare the sticker for application by firmly rubbing a squeegee or credit card across the clear transfer tape. This removes any air bubbles that may have formed and makes the sticker cling to the transfer tape.
Step 3
Peel the white paper backing off the sticker. If the sticker clings to the backing, slowly replace the paper backing and repeat Step 2.
Step 4
Slowly lower the sticker onto the surface and rub it in place firmly with a squeegee or credit card. For best results, wait 24 hours before moving to the next step.
Step 5
Slowly peel the clear transfer tape off at an angle. Be careful not to pull the sticker off the surface. If sticker pulls away from the surface repeat Step 4.
How To Apply A Small Sticker or Decal
Step 1
Clean the area thoroughly with rubbing alcohol or soap and water. Do not use Windex or similar products because it will leave a residue behind that will prevent the sticker from adhering well.
Step 2
Prepare the sticker for application by firmly rubbing a squeegee or credit card across the clear transfer tape. This removes any air bubbles that may have formed and makes the sticker cling to the transfer tape.
Step 3
Peel the white paper backing off the sticker. If the sticker clings to the backing, slowly replace the paper backing and repeat Step 2.
Step 4
Slowly lower the sticker onto the surface and rub it in place firmly with a squeegee or credit card. For best results, wait 24 hours before moving to the next step.
Step 5
Slowly peel the clear transfer tape off at an angle. Be careful not to pull the sticker off the surface. If sticker pulls away from the surface repeat Step 4.
Tiger Wood 6" Tall Logo Decal Sticker for Cars Laptops Tablets Skateboard - Black
Price is below average
Current Price
$1.99
Average
$4.65
Min Price
$1.99
Max Price
$6.99
Price dynamics
57%
Description
The Decal is Made in USA and Die Cut with No Background. Material: The Highest Quality Engineering Grade 5 Years Outdoor Vinyl Colors available in *WHITE*BLUE*GREEN*RED*SILVER*PINK*PURPLE*BLACK*YELLOW*ORANGE Product comes in different colors so when purchasing let me know what color you would like. if you want other than the default color.
How To Apply A Small Sticker or Decal
Step 1
Clean the area thoroughly with rubbing alcohol or soap and water. Do not use Windex or similar products because it will leave a residue behind that will prevent the sticker from adhering well.
Step 2
Prepare the sticker for application by firmly rubbing a squeegee or credit card across the clear transfer tape. This removes any air bubbles that may have formed and makes the sticker cling to the transfer tape.
Step 3
Peel the white paper backing off the sticker. If the sticker clings to the backing, slowly replace the paper backing and repeat Step 2.
Step 4
Slowly lower the sticker onto the surface and rub it in place firmly with a squeegee or credit card. For best results, wait 24 hours before moving to the next step.
Step 5
Slowly peel the clear transfer tape off at an angle. Be careful not to pull the sticker off the surface. If sticker pulls away from the surface repeat Step 4.
How To Apply A Small Sticker or Decal
Step 1
Clean the area thoroughly with rubbing alcohol or soap and water. Do not use Windex or similar products because it will leave a residue behind that will prevent the sticker from adhering well.
Step 2
Prepare the sticker for application by firmly rubbing a squeegee or credit card across the clear transfer tape. This removes any air bubbles that may have formed and makes the sticker cling to the transfer tape.
Step 3
Peel the white paper backing off the sticker. If the sticker clings to the backing, slowly replace the paper backing and repeat Step 2.
Step 4
Slowly lower the sticker onto the surface and rub it in place firmly with a squeegee or credit card. For best results, wait 24 hours before moving to the next step.
Step 5
Slowly peel the clear transfer tape off at an angle. Be careful not to pull the sticker off the surface. If sticker pulls away from the surface repeat Step 4.
Price will be lower
in next 2 weeks
in next 2 weeks
According to the data, price will be lower in next two weeks, so not waste your money and track better price!
Product review & video
so you want to learn how to make a sticker us mountain bikers love our stickers and here at IHT we make a lot of them not only do we stick them on everything we own but for the last four years we've made tens of thousands of stickers and ship them to over 80 countries from Canada to Norfolk Island and to tell you the truth I don't even know where that is to let you in on a little secret here's how we make them and how you can - here's what you need the main tool is the cutter we use the silhouette cameo and yeah it's used by scrapbooking moms but for 300 bucks it does the job aside from that you'll need vinyl transfer tape scissors an exacto knife and a computer with silhouette studio which comes with the cutter I also like to refine my designs in Photoshop but it's not necessary all right now let's make a sticker firstly you'll want to make the design this can be a simple image text or

Similar products