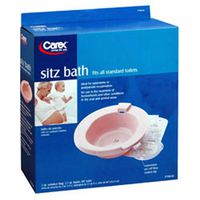
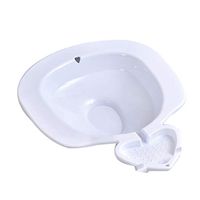
- HomeMedical Supplies & EquipmentMobility & Daily Living AidsBathroom Safety, Aids & AccessoriesSitz Baths
Description
Installation and disassembly require no tools and can be operated by hand.
1: Put the seat board upside down
2: Install the bracket (note that the middle indentation needs to be parallel to the seat plate groove)
3: Install the second bracket
4: Screw a short screw and washer at the intersection of the two brackets
5: Install the backrest tube and fix it with two long screws and washers.
6: Install another backrest tube
7: Install the backrest and fix it with four short screws and washers.
8: Install the handrail, press the yellow beads on both ends of the armrest, and insert the card slot on the leg
9: Install the second armrest
note:
1. Please confirm whether the installation is correct before use, all fasteners are calibrated, and adjusted to the appropriate height, raise or lower the four legs must be at the same hole height
2.Clean and wipe clean after each use. Keep it ventilated and dry.
3. For every two months of use, please check if the fasteners are loose, (need to be tightened in time) and the wear of the foot pads. If necessary, please replace them in time.
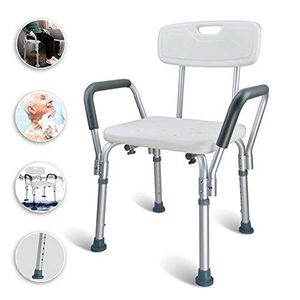
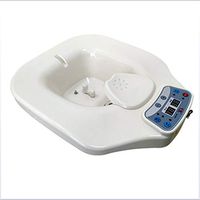
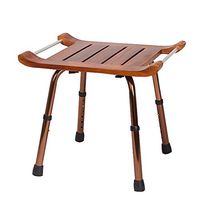
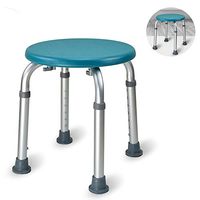
WYQWANLJX Adjustable Shower Bench,Portable Medical Stool,with Back and Armrest,Non-Slip Rust,for Seniors, Disabled,White,Gift for Parents,A
Current Price
$130.99
Average
$130.99
Min Price
$130.99
Max Price
$130.99
Description
Installation and disassembly require no tools and can be operated by hand.
1: Put the seat board upside down
2: Install the bracket (note that the middle indentation needs to be parallel to the seat plate groove)
3: Install the second bracket
4: Screw a short screw and washer at the intersection of the two brackets
5: Install the backrest tube and fix it with two long screws and washers.
6: Install another backrest tube
7: Install the backrest and fix it with four short screws and washers.
8: Install the handrail, press the yellow beads on both ends of the armrest, and insert the card slot on the leg
9: Install the second armrest
note:
1. Please confirm whether the installation is correct before use, all fasteners are calibrated, and adjusted to the appropriate height, raise or lower the four legs must be at the same hole height
2.Clean and wipe clean after each use. Keep it ventilated and dry.
3. For every two months of use, please check if the fasteners are loose, (need to be tightened in time) and the wear of the foot pads. If necessary, please replace them in time.
1: Put the seat board upside down
2: Install the bracket (note that the middle indentation needs to be parallel to the seat plate groove)
3: Install the second bracket
4: Screw a short screw and washer at the intersection of the two brackets
5: Install the backrest tube and fix it with two long screws and washers.
6: Install another backrest tube
7: Install the backrest and fix it with four short screws and washers.
8: Install the handrail, press the yellow beads on both ends of the armrest, and insert the card slot on the leg
9: Install the second armrest
note:
1. Please confirm whether the installation is correct before use, all fasteners are calibrated, and adjusted to the appropriate height, raise or lower the four legs must be at the same hole height
2.Clean and wipe clean after each use. Keep it ventilated and dry.
3. For every two months of use, please check if the fasteners are loose, (need to be tightened in time) and the wear of the foot pads. If necessary, please replace them in time.
Price will be lower
in next 2 weeks
in next 2 weeks
According to the data, price will be lower in next two weeks, so not waste your money and track better price!
Similar products
