Description
Parameters:
Input Voltage: DC 4~40V(the input voltage should be higher than output voltage at least 1V)
Output Voltage: DC 1.25~37V(continuously adjustable)
Output Current: 2A(for stable operation), 3A max.
Voltmeter: 0~40V
Voltmeter Accuracy: .+/-0.1V
Internal Oscillation Frequency: 150KHz
There is a large area of copper on its back to enhance heat dissipation
How to adjust accuracy of input/output volt?
(1)Output voltage calibration
Firstly, adjust the right button so that "OUT" LED lighted, the voltmeter shows the value of output voltage; Press the right button for more than 2 seconds,
release, voltmeter and "OUT" LED flashes in synchronization so that you enter the output voltage calibration mode.
Secondly, press the right button (normal speed), the voltage value is adding up a unit; Press the left button, minus a unit; Due to a unit is less than 0.1V,
the minimum voltage display to 0.1V, so you need to continuously press 1-5 times to see the voltmeter change 0.1V, how many times voltmeter change 0.1V by pressing the key, depending on the current display voltage, the higher the voltage, the fewer the number of press.
Thirdly, press the right button for more than 2 seconds, release, to exit the output voltage calibration mode. All parameters set to automatically power down to save.
(2) Input voltage calibration
Firstly, adjust the right button so that "IN" LED lighted, the voltmeter shows the value of input voltage; press the right button for more than 2 seconds,
release, voltmeter and "IN" LED flashes in synchronization so that you enter the input voltage calibration mode.
Steps 2 and step 3 are consistent with the output voltage calibration method.
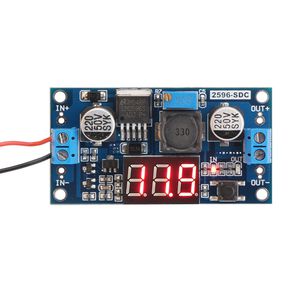
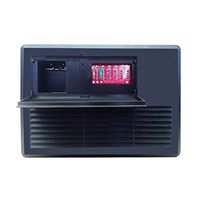
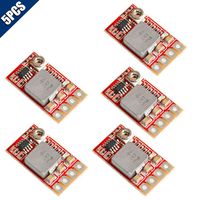
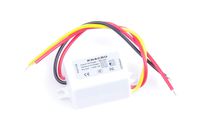
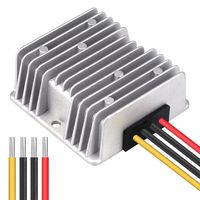
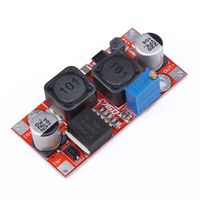
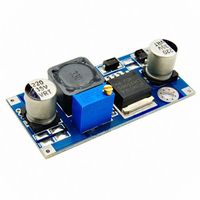
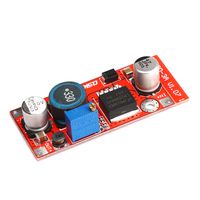
24v to 12v Step Down Converter, DROK LM2596 Analog Control Buck Transformer DC-DC Voltage Reducer Regulator Module 36V 24V 12V to 5V 2A Power Inverter Volt Stabilizer with Red LED Display Voltmeter
Current Price
$8.99
Average
$7.38
Min Price
$5.14
Max Price
$11.89
Price dynamics
18%
Description
Parameters:
Input Voltage: DC 4~40V(the input voltage should be higher than output voltage at least 1V)
Output Voltage: DC 1.25~37V(continuously adjustable)
Output Current: 2A(for stable operation), 3A max.
Voltmeter: 0~40V
Voltmeter Accuracy: .+/-0.1V
Internal Oscillation Frequency: 150KHz
There is a large area of copper on its back to enhance heat dissipation
How to adjust accuracy of input/output volt?
(1)Output voltage calibration
Firstly, adjust the right button so that "OUT" LED lighted, the voltmeter shows the value of output voltage; Press the right button for more than 2 seconds,
release, voltmeter and "OUT" LED flashes in synchronization so that you enter the output voltage calibration mode.
Secondly, press the right button (normal speed), the voltage value is adding up a unit; Press the left button, minus a unit; Due to a unit is less than 0.1V,
the minimum voltage display to 0.1V, so you need to continuously press 1-5 times to see the voltmeter change 0.1V, how many times voltmeter change 0.1V by pressing the key, depending on the current display voltage, the higher the voltage, the fewer the number of press.
Thirdly, press the right button for more than 2 seconds, release, to exit the output voltage calibration mode. All parameters set to automatically power down to save.
(2) Input voltage calibration
Firstly, adjust the right button so that "IN" LED lighted, the voltmeter shows the value of input voltage; press the right button for more than 2 seconds,
release, voltmeter and "IN" LED flashes in synchronization so that you enter the input voltage calibration mode.
Steps 2 and step 3 are consistent with the output voltage calibration method.
Input Voltage: DC 4~40V(the input voltage should be higher than output voltage at least 1V)
Output Voltage: DC 1.25~37V(continuously adjustable)
Output Current: 2A(for stable operation), 3A max.
Voltmeter: 0~40V
Voltmeter Accuracy: .+/-0.1V
Internal Oscillation Frequency: 150KHz
There is a large area of copper on its back to enhance heat dissipation
How to adjust accuracy of input/output volt?
(1)Output voltage calibration
Firstly, adjust the right button so that "OUT" LED lighted, the voltmeter shows the value of output voltage; Press the right button for more than 2 seconds,
release, voltmeter and "OUT" LED flashes in synchronization so that you enter the output voltage calibration mode.
Secondly, press the right button (normal speed), the voltage value is adding up a unit; Press the left button, minus a unit; Due to a unit is less than 0.1V,
the minimum voltage display to 0.1V, so you need to continuously press 1-5 times to see the voltmeter change 0.1V, how many times voltmeter change 0.1V by pressing the key, depending on the current display voltage, the higher the voltage, the fewer the number of press.
Thirdly, press the right button for more than 2 seconds, release, to exit the output voltage calibration mode. All parameters set to automatically power down to save.
(2) Input voltage calibration
Firstly, adjust the right button so that "IN" LED lighted, the voltmeter shows the value of input voltage; press the right button for more than 2 seconds,
release, voltmeter and "IN" LED flashes in synchronization so that you enter the input voltage calibration mode.
Steps 2 and step 3 are consistent with the output voltage calibration method.
Price will be lower
in next 2 weeks
in next 2 weeks
According to the data, price will be lower in next two weeks, so not waste your money and track better price!
Product review & video
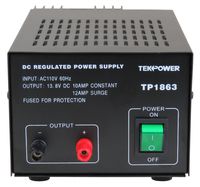
today we're going to learn a few things about this nifty little device that's being sold on eBay it's called a buck step-down power converter module and its really a multi-purpose here in it and the first thing we're going to learn how to do with it is use it as a voltmeter now on the left hand side of the module there's a terminal block where you connect a DC power supply or the power supply that you want to measure the terminal block is labeled with positive and negative symbols so I've connected a red wire to the positive screw terminal and a black wire to the negative screw terminal we're going to zoom out and you can see that I've run the wires over to my 12 volt power supply and this is what we're going to measure the voltage of now like most 12 volt power supplies this one actually puts out about thirteen point eight or thirteen point nine volts and that's a legacy of the automob
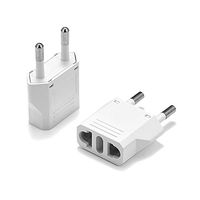
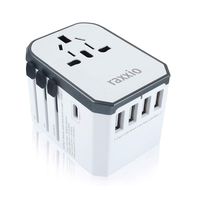

