- HomeAutomotiveLights & Lighting AccessoriesLighting Assemblies & AccessoriesSignal Light AssembliesMarker Light AssembliesSide Marker Assemblies
Description
Specification:
Light Source: 4 PCS SMD2835 LEDs
Working Voltage: 12V DC
Housing Material: Aluminum alloy
Lens Material: Polycarbonate
Lens Shape: Oval
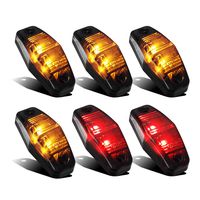
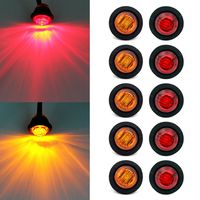
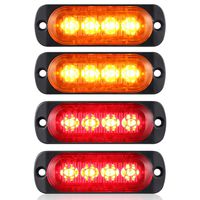
Lens Color: Red / Amber
Mount Type: Surface mount
Waterproof rate: IP66
Current: 60mA / 12V DC
Wiring connection: Brown - Lead; White - Ground
What's in the box:
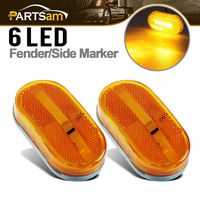
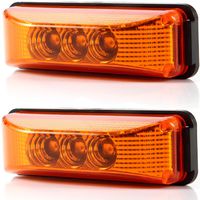
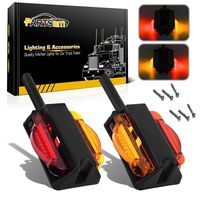
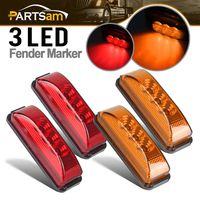
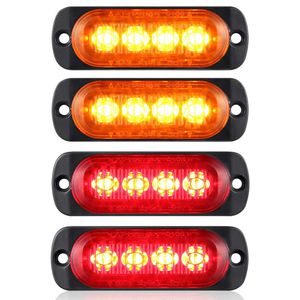
2 x 3.4" Oblong Red LED Marker Lights;
2 x 3.4" Oblong Amber LED Marker Lights;
4 x 3.4" Oblong Rubber Gasket;
Mounting Screws;
Instruction Manual
Installation
1. Determine the mounting location for the AT-HAIHAN marker light, should be mounted to a flat surface or one with the least amount of curvature.
2. Using the supplied mounting gasket as a template, mark the drill hole locations on the mounting surface for either front or rear mounting.
3. Three holes to be drilled out by using correct drill bit, the middle hole needs to be bigger than the others, then remove any sharp edges from these holes.
4. Mount the marker light along with the mounting gasket, routing the wires through the middle hole.
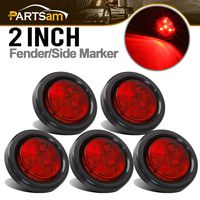
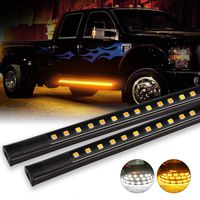
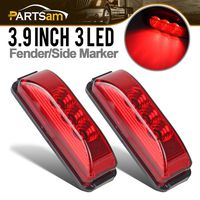
Aluminum Housing Red and Amber LED Clearance Lamp Trailer Front Rear Side Marker Light, AT-HAIHAN DOT Compliant Waterproof Surface Mount Lighting for Truck Tractor Motorcycle Van RV
Current Price
$19.99
Average
$17.99
Min Price
$16.99
Max Price
$19.99
Price dynamics
10%
Description
Specification:
Light Source: 4 PCS SMD2835 LEDs
Working Voltage: 12V DC
Housing Material: Aluminum alloy
Lens Material: Polycarbonate
Lens Shape: Oval
Lens Color: Red / Amber
Mount Type: Surface mount
Waterproof rate: IP66
Current: 60mA / 12V DC
Wiring connection: Brown - Lead; White - Ground
What's in the box:
2 x 3.4" Oblong Red LED Marker Lights;
2 x 3.4" Oblong Amber LED Marker Lights;
4 x 3.4" Oblong Rubber Gasket;
Mounting Screws;
Instruction Manual
Installation
1. Determine the mounting location for the AT-HAIHAN marker light, should be mounted to a flat surface or one with the least amount of curvature.
2. Using the supplied mounting gasket as a template, mark the drill hole locations on the mounting surface for either front or rear mounting.
3. Three holes to be drilled out by using correct drill bit, the middle hole needs to be bigger than the others, then remove any sharp edges from these holes.
4. Mount the marker light along with the mounting gasket, routing the wires through the middle hole.
Price will be lower
in next 2 weeks
in next 2 weeks
According to the data, price will be lower in next two weeks, so not waste your money and track better price!