- HomeIndustrial & ScientificIndustrial ElectricalSemiconductor ProductsInterfacesPrototyping Boards & Accessories
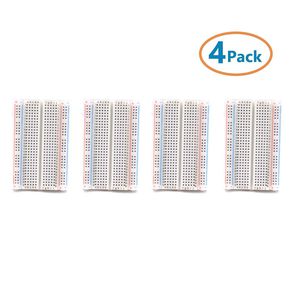
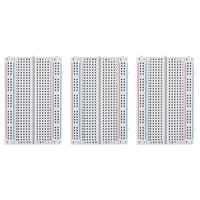
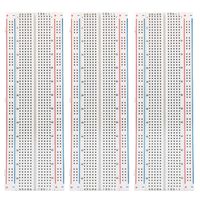
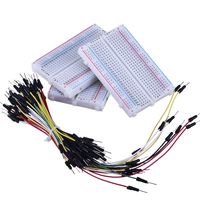
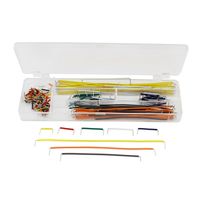
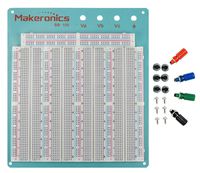
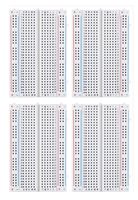
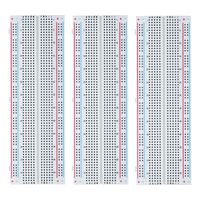
CenryKay 400 tie Point Experiment Mini Breadboard ,4 Power Rails Compatible for Arduino Jumper Wire(4pcs)
Current Price
$8.99
Average
$8.99
Min Price
$8.98
Max Price
$8.99
Price dynamics
0%
Price will be lower
in next 2 weeks
in next 2 weeks
According to the data, price will be lower in next two weeks, so not waste your money and track better price!
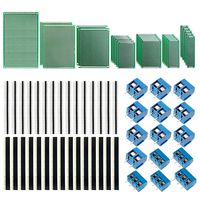
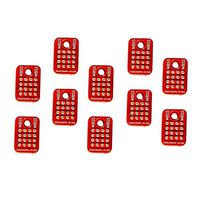
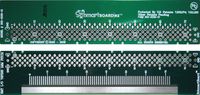
![Stargazer SMD to DIP Breakout for SOIC-16, TSSOP-16, MSOP-16, and VSOP-16 with Gold Plated Headers [5 Pack]](https://use4coins.com/thumbs/unsafe/fit-in/200x200/https://images-na.ssl-images-amazon.com/images/I/81jyHwxWmmL.jpg)


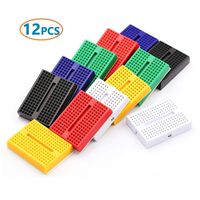
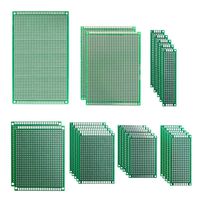
![LampVPath [12Packs] 170 Points Mini Small solderless breadboard for Arduino Proto Shield (6 Colors)](https://use4coins.com/thumbs/unsafe/fit-in/200x200/https://images-na.ssl-images-amazon.com/images/I/71tQ9dwYiBL.jpg)
![Paramount 3D PLA (Military Green) 1.75mm 1kg Filament [OGRL60037764C]](https://use4coins.com/thumbs/unsafe/fit-in/200x200/https://images-na.ssl-images-amazon.com/images/I/81UcG%2BYIbTL.jpg)
![Paramount 3D PLA (Iron Red) 1.75mm 1kg Filament [IRRL30111815C]](https://use4coins.com/thumbs/unsafe/fit-in/200x200/https://images-na.ssl-images-amazon.com/images/I/91WwQX9YqLL.jpg)
