Description
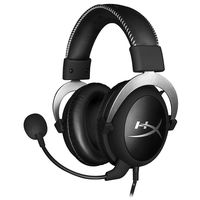
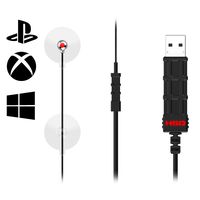
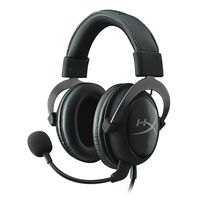
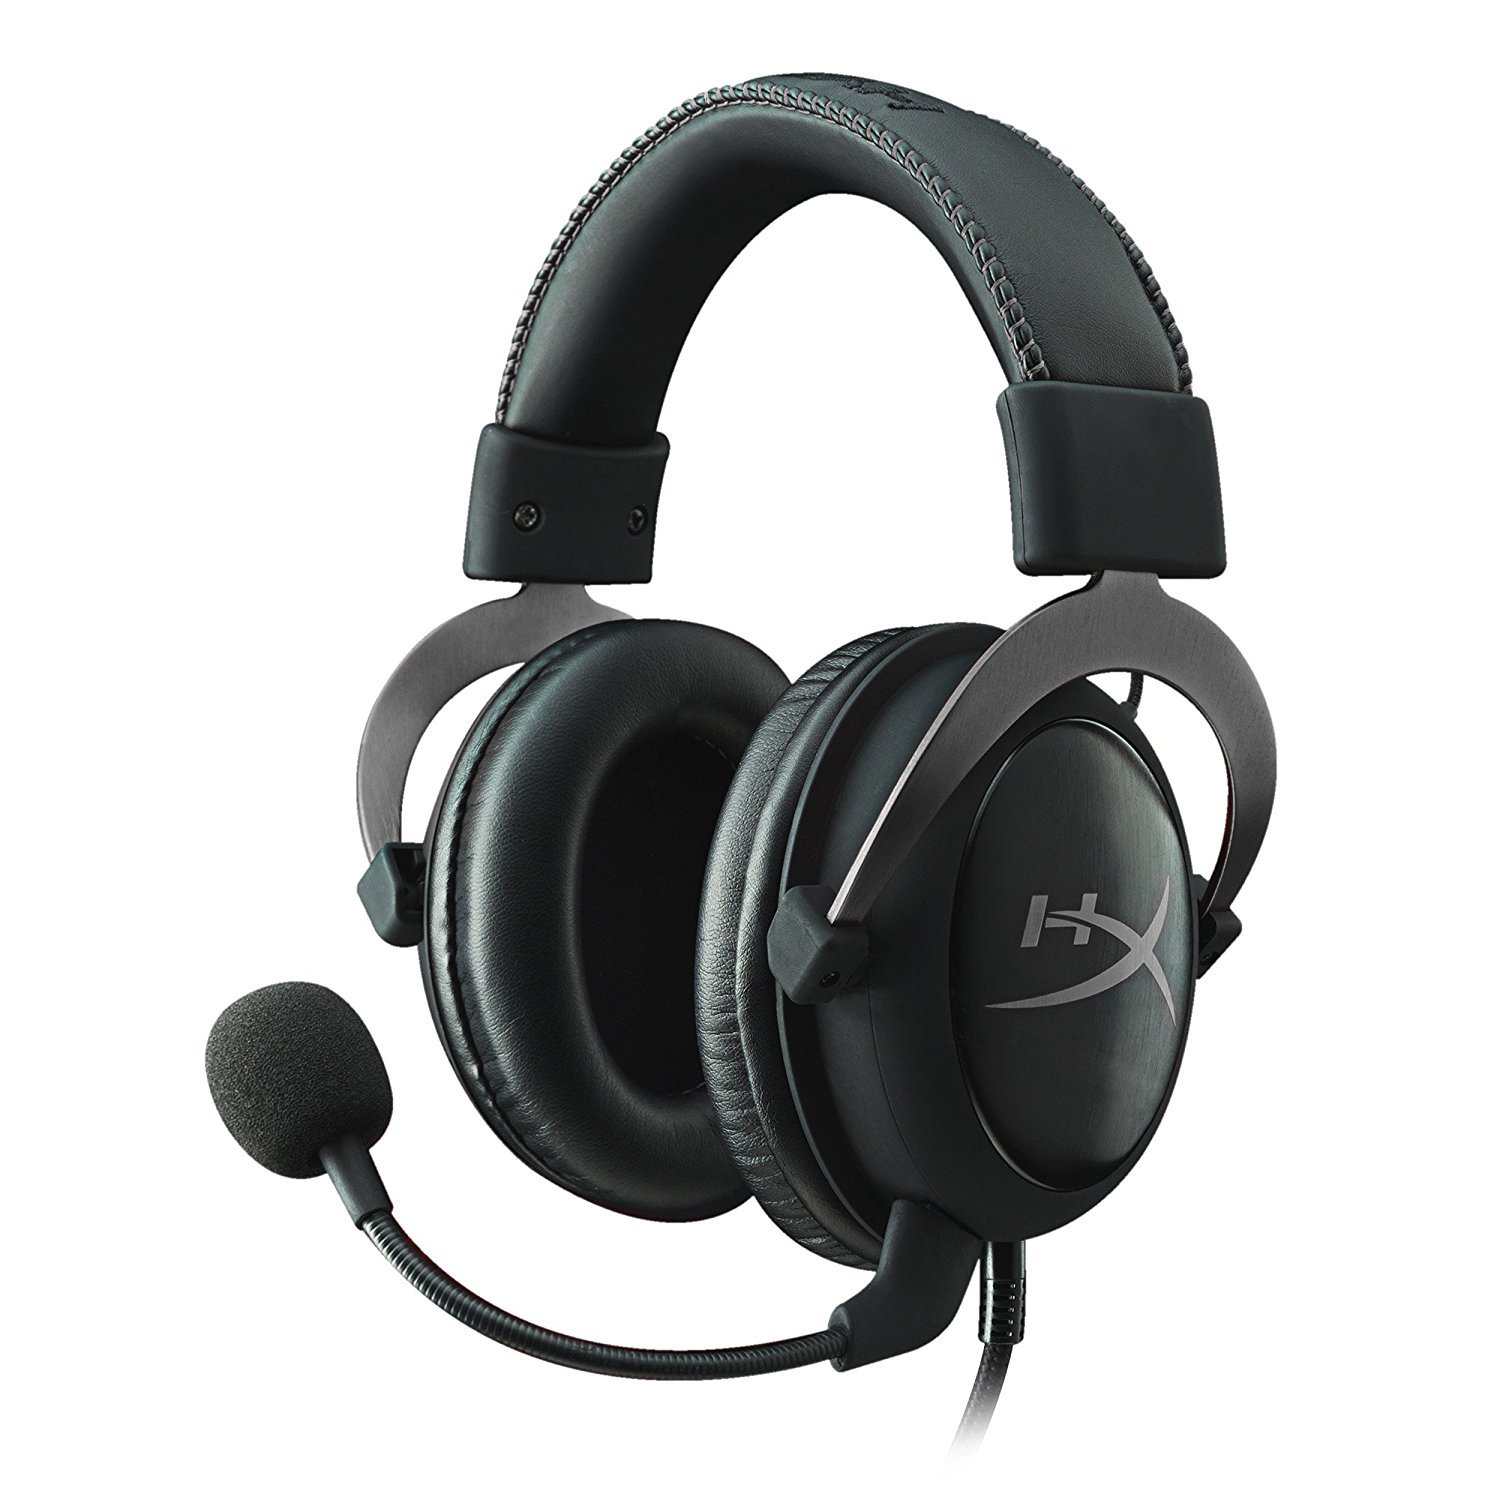
HyperX Cloud II features a newly designed USB sound card audio control box that amplifies audio and voice for an optimal Hi-Fi gaming experience, so you can hear what you’ve been missing. Open up a world of detail other gamers will never know — the rustle of a camper’s boot, the scuttle in a distant vent. This next-generation headset generates virtual 7.1 surround sound with distance and depth to enhance your gaming, movie or music experience. The headset must be selected as the default audio device in your sound settings. For Windows:1. Open up Control Panel and select Hardware and Sound and then select Sound. 2. If the “HyperX 7.1 Audio” is not currently the default audio device, right-click on the option and select “Set as Default Device.” 3. This should place a green check mark next to the default audio device. Repeat the same steps for the microphone portion of the headset, located under the “Recording” tab (also found in the Sound program in Control Panel.) For Mac: 1. Click the Apple menu and select “System Preferences” from the drop-down menu. 2. In “System Preferences”, click on the ‘Sound’ icon. 3. Click on the Input tab and select “HyperX 7.1 Audio” for default sound input. 4. Click on the Output tab and select “HyperX 7.1 Audio” for default sound output. Note: The headset may appear as "USB audio" instead of "HyperX 7.1 Audio".
HyperX Cloud II Gaming Headset - 7.1 Surround Sound - Memory Foam Ear Pads - Durable Aluminum Frame - Works with PC, PS4, PS4 PRO, Xbox One, Xbox One S - Gun Metal (KHX-HSCP-GM)
Price is below average
Current Price
$84.66
Average
$94.35
Min Price
$64.99
Max Price
$106.53
Price dynamics
10%
Description
HyperX Cloud II features a newly designed USB sound card audio control box that amplifies audio and voice for an optimal Hi-Fi gaming experience, so you can hear what you’ve been missing. Open up a world of detail other gamers will never know — the rustle of a camper’s boot, the scuttle in a distant vent. This next-generation headset generates virtual 7.1 surround sound with distance and depth to enhance your gaming, movie or music experience. The headset must be selected as the default audio device in your sound settings. For Windows:1. Open up Control Panel and select Hardware and Sound and then select Sound. 2. If the “HyperX 7.1 Audio” is not currently the default audio device, right-click on the option and select “Set as Default Device.” 3. This should place a green check mark next to the default audio device. Repeat the same steps for the microphone portion of the headset, located under the “Recording” tab (also found in the Sound program in Control Panel.) For Mac: 1. Click the Apple menu and select “System Preferences” from the drop-down menu. 2. In “System Preferences”, click on the ‘Sound’ icon. 3. Click on the Input tab and select “HyperX 7.1 Audio” for default sound input. 4. Click on the Output tab and select “HyperX 7.1 Audio” for default sound output. Note: The headset may appear as "USB audio" instead of "HyperX 7.1 Audio".
Price will be lower
in next 2 weeks
in next 2 weeks
According to the data, price will be lower in next two weeks, so not waste your money and track better price!