Description
Upgraded 5 in 1 stud finder from JAXWQ provide users with more wider detect performance, more accurate and deeper detect range.
1.Feature:
(1) Ergonomic anti-slip handle provide comfort and control of the tool.
(2) Intelligent Microprocessor chip, get the most accurate and fast results
(3) HD graphical LCD display Audio Alarm
(4) Auto-calibration function to provides users with maximum reliability.
2.How to use JURGEN K stud finder?
Step 1: Calibrate the tool before every scan
Choose the scan model at first, then place unit flat on the wall, press the power button to power on, press the Scan button(on the right side of the tool) to start calibration. Wait for the reducing bars disappears and beeps to confirm calibration has completed.
In stud/deep mode, put it on the wall where you want to detect to calibrate it ; In AC/Metal mode, put it in the air to calibrate it.
Note: It is important to wait for calibration to complete (2-3 seconds) every time.
Step 2: Start to scan
After Calibration, then moves the stud finder along the wall slowly, The narrow on the screen together with the beep signal alter, guides you to find the location of the stud.
Note:
1. if shake or lift the scanner coincidentally, the device needs to be re-calibrate.
2.if you can not scan the object from left to right, please try to scan up and down.
Step 3: Find the location of the stud
When the signal bar is full and the beep alarm is loudest, it means you have found the center of an object. Mark it with your pencil.
Then choose the Metal Scan mode to test whether it is a metal. After you confirm that it is not a metal, it means that you found the center of a stud.
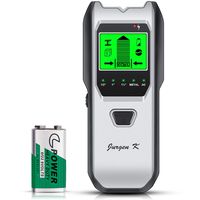
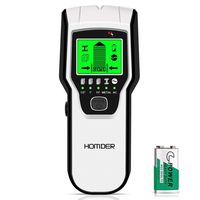
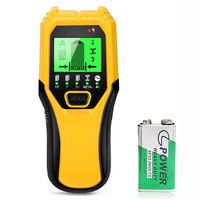
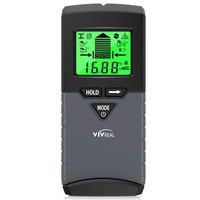
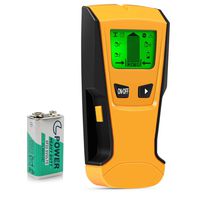
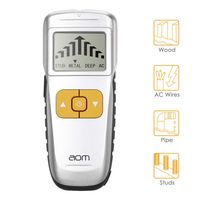
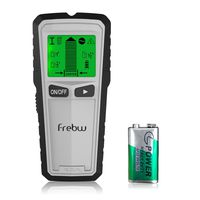
Stud Finder Wall Scanner 5 in 1Stud Detector with Intelligent Microprocessor chip, HD LCD Display and Audio Alarm, Accurate and Fast Location for the Center and Edge of Metal, Studs, AC wire
Price is below average
Current Price
$21.99
Average
$22.21
Min Price
$17.99
Max Price
$24.99
Price dynamics
1%
Description
Upgraded 5 in 1 stud finder from JAXWQ provide users with more wider detect performance, more accurate and deeper detect range.
1.Feature:
(1) Ergonomic anti-slip handle provide comfort and control of the tool.
(2) Intelligent Microprocessor chip, get the most accurate and fast results
(3) HD graphical LCD display Audio Alarm
(4) Auto-calibration function to provides users with maximum reliability.
2.How to use JURGEN K stud finder?
Step 1: Calibrate the tool before every scan
Choose the scan model at first, then place unit flat on the wall, press the power button to power on, press the Scan button(on the right side of the tool) to start calibration. Wait for the reducing bars disappears and beeps to confirm calibration has completed.
In stud/deep mode, put it on the wall where you want to detect to calibrate it ; In AC/Metal mode, put it in the air to calibrate it.
Note: It is important to wait for calibration to complete (2-3 seconds) every time.
Step 2: Start to scan
After Calibration, then moves the stud finder along the wall slowly, The narrow on the screen together with the beep signal alter, guides you to find the location of the stud.
Note:
1. if shake or lift the scanner coincidentally, the device needs to be re-calibrate.
2.if you can not scan the object from left to right, please try to scan up and down.
Step 3: Find the location of the stud
When the signal bar is full and the beep alarm is loudest, it means you have found the center of an object. Mark it with your pencil.
Then choose the Metal Scan mode to test whether it is a metal. After you confirm that it is not a metal, it means that you found the center of a stud.
1.Feature:
(1) Ergonomic anti-slip handle provide comfort and control of the tool.
(2) Intelligent Microprocessor chip, get the most accurate and fast results
(3) HD graphical LCD display Audio Alarm
(4) Auto-calibration function to provides users with maximum reliability.
2.How to use JURGEN K stud finder?
Step 1: Calibrate the tool before every scan
Choose the scan model at first, then place unit flat on the wall, press the power button to power on, press the Scan button(on the right side of the tool) to start calibration. Wait for the reducing bars disappears and beeps to confirm calibration has completed.
In stud/deep mode, put it on the wall where you want to detect to calibrate it ; In AC/Metal mode, put it in the air to calibrate it.
Note: It is important to wait for calibration to complete (2-3 seconds) every time.
Step 2: Start to scan
After Calibration, then moves the stud finder along the wall slowly, The narrow on the screen together with the beep signal alter, guides you to find the location of the stud.
Note:
1. if shake or lift the scanner coincidentally, the device needs to be re-calibrate.
2.if you can not scan the object from left to right, please try to scan up and down.
Step 3: Find the location of the stud
When the signal bar is full and the beep alarm is loudest, it means you have found the center of an object. Mark it with your pencil.
Then choose the Metal Scan mode to test whether it is a metal. After you confirm that it is not a metal, it means that you found the center of a stud.
Price will be lower
in next 2 weeks
in next 2 weeks
According to the data, price will be lower in next two weeks, so not waste your money and track better price!
Similar products
