- HomeIndustrial & ScientificAdditive Manufacturing Products3D Printer Parts & Accessories3D Printer Controllers
SKR V1.4 Parameters
Microprocessor: ARM Cortex-M3 CPU
Input voltage: DC12V-DC24V 5A-15A
Logic voltage:DC 3.3V
WIFI module:ESP-01S
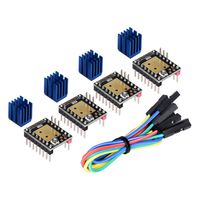
Motor driver: Support TMC5161、TMC5160、TMC2209、TMC2225、TMC2208、 TMC2130、ST820、LV8729、DRV8825、A4988 etc., independent external motor driver.
Motor driver interface:X、Y、Z、E0、E1,5 way(Each has a closed loop drive interface) up to 256 subdivisions
Temperature sensor interface: TH0, TH1, TB, 3 channel 100K NTC Temperature sensor interface: TH0, TH1, TB, 3 channel 100K NTC (thermal resistance)
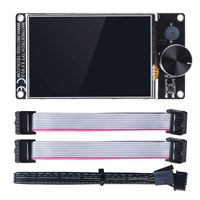
Display:2.4、2.8、3.5 inch TFT(Support dual mode screen)、LCD2004、 LCD12864
PC communication interface: Square USB, easy to plug, communication baud rate of 115200
Expand the interface function support: Resume Printing While Power Off, Filament Break Detection, Automatic Shutdown After Printing, Automatic leveling, BL Touch
Supported machine architecture: XYZ、delta、kossel、Ultimaker、corexy Recommended software: Cura、Simplify3D、pronterface、Repetier-host、 Makerware
How to connect with computer
SKR motherboard communicates with the computer through the [USB] interface.
The computer needs to install the driver program first and then insert the motherboard into the computer to identify the port for data transmission. Without installing the driver, it is easy for the computer to fail to recognize the USB port.
Driver:https://www.dropbox.com/s/a0k5idjmf4fn82f/lpc176x_usb_driver.inf?dl=0
How to Obtain Firmware:
https://github.com/bigtreetech
2.Marlin2.0 Firmware update method
After downloading our open source Marlin2.0 firmware, use Visual Studio Code to open the project to compile, then find the firmware.bin file, copy it to the SD card, and then reset the motherboard. For detailed steps, please refer to the tutorial:
https://www.dropbox.com/s/ppjfflhf3j5yzh2/MarlinV2.0%20SKRV1.1%20instruction.docx?dl=0
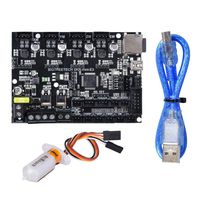
Package Included
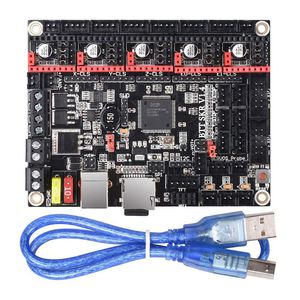
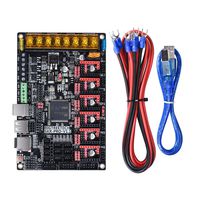
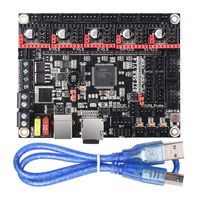
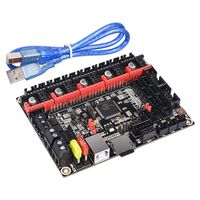
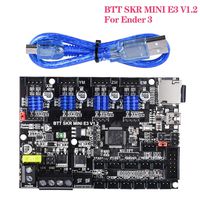
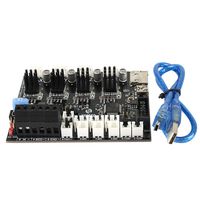
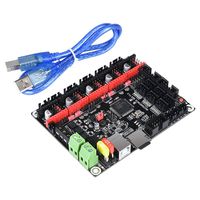
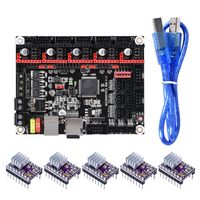
BIGTREETECH 3D Printer Part SKR V1.4 32bit Control Board Smoothieboard&Marlin Open Source SKR V1.3 Upgrade Support TMC2209/TMC2208/TMC2130/A4988/8825/ Drivers (SKR V1.4)
SKR V1.4 Parameters
Microprocessor: ARM Cortex-M3 CPU
Input voltage: DC12V-DC24V 5A-15A
Logic voltage:DC 3.3V
WIFI module:ESP-01S
Motor driver: Support TMC5161、TMC5160、TMC2209、TMC2225、TMC2208、 TMC2130、ST820、LV8729、DRV8825、A4988 etc., independent external motor driver.
Motor driver interface:X、Y、Z、E0、E1,5 way(Each has a closed loop drive interface) up to 256 subdivisions
Temperature sensor interface: TH0, TH1, TB, 3 channel 100K NTC Temperature sensor interface: TH0, TH1, TB, 3 channel 100K NTC (thermal resistance)
Display:2.4、2.8、3.5 inch TFT(Support dual mode screen)、LCD2004、 LCD12864
PC communication interface: Square USB, easy to plug, communication baud rate of 115200
Expand the interface function support: Resume Printing While Power Off, Filament Break Detection, Automatic Shutdown After Printing, Automatic leveling, BL Touch
Supported machine architecture: XYZ、delta、kossel、Ultimaker、corexy Recommended software: Cura、Simplify3D、pronterface、Repetier-host、 Makerware
How to connect with computer
SKR motherboard communicates with the computer through the [USB] interface.
The computer needs to install the driver program first and then insert the motherboard into the computer to identify the port for data transmission. Without installing the driver, it is easy for the computer to fail to recognize the USB port.
Driver:https://www.dropbox.com/s/a0k5idjmf4fn82f/lpc176x_usb_driver.inf?dl=0
How to Obtain Firmware:
https://github.com/bigtreetech
2.Marlin2.0 Firmware update method
After downloading our open source Marlin2.0 firmware, use Visual Studio Code to open the project to compile, then find the firmware.bin file, copy it to the SD card, and then reset the motherboard. For detailed steps, please refer to the tutorial:
https://www.dropbox.com/s/ppjfflhf3j5yzh2/MarlinV2.0%20SKRV1.1%20instruction.docx?dl=0
Package Included
in next 2 weeks